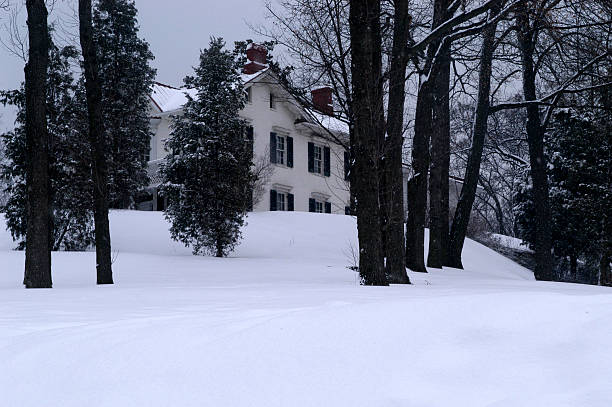
Weatherproofing Your Home for Winter
Weatherproofing Your Home for Winter

A healthier, warmer home with fewer drafts, less moisture, and cleaner indoor air
By: Tonya Slater
Published on: 01/28/2026 / (5-7 min read)
If winter has you cranking the heat while your house still feels… kind of rude (drafty, damp, and impossible to keep warm), your home is basically leaking comfort.
The good news: weatherproofing doesn’t have to be a massive remodel. A few targeted upgrades air sealing, weatherstripping, duct sealing, and moisture control can improve comfort and help lower heating costs. The Department of Energy's Energy.gov
This is my Detox Dwellings approach: seal the home smartly, keep indoor air quality in mind, and choose lower-tox materials whenever possible.
Quick Answers
What’s the best way to weatherproof a home for winter?
Start with air leaks: seal gaps around windows/doors, weatherstrip movable parts, seal duct leaks, and control moisture at the foundation. Does weatherproofing help with heating costs?
Yes air sealing and insulation are widely recommended for comfort and efficiency, with ENERGY STAR noting meaningful average savings when air sealing and insulating key areas. Can weatherproofing hurt indoor air quality?
It can if you tighten the home without proper ventilation. Ventilation matters because it helps reduce indoor pollutants.
Detox Dwellings Winter Weatherproofing Checklist
Step 1: Find the drafts first (before you buy anything)
Before you start sealing everything, take 10 minutes and “audit” your home:
Run your hand around window frames and door edges on a windy day
Check baseboards and plumbing penetrations under sinks
Look at attic access doors and recessed lighting areas
Note rooms that are consistently colder than others
Step 2: Air seal + weatherstrip the obvious offenders
Air sealing is one of the most cost-effective ways to improve comfort and reduce heating/cooling loss. Caulk and weatherstripping are two of the simplest techniques.
Doors
Add a door sweep to stop that icy ankle breeze
Use weatherstripping tape around the jambs
Seal gaps in the trim (especially if you can see daylight)
Windows
Windows are a huge source of winter discomfort mostly because of tiny gaps around frames and trim.
If you’re sealing around windows (inside and out), choose a flexible, durable non-toxic caulk that won’t crack or dry out over time. A good window caulk should provide a waterproof seal and avoid harsh solvent odors (especially for chemically sensitive households).
Step 3: Foundation + moisture control (warmth starts from the ground up)
Winter isn’t just cold it’s moisture, too. Basements, crawlspaces, and below-grade areas can wick dampness into the home, which can lead to musty smells, comfort issues, and (in some homes) mold risk.
If you’re sealing a below-grade foundation, look for a low-odor coating designed to create a vapor barrier and stay flexible through temperature swings. Some coatings in the green-building world are also used on roofs, decks, and wet-area underlayments because they’re built to hold up in tough conditions.
Pro-tip (healthy home): Keep indoor humidity generally in the 30–50% range. (That’s why I like a digital hygrometer no guessing.)
Step 4: Seal your air ducts (comfort + indoor air quality)
Leaky ducts can waste energy and make rooms uneven one room roasting, another room freezing.
A well-designed and properly sealed duct system can improve comfort and efficiency. For sealing seams, joints, and cracks in ductwork, use a product made for duct sealing (not random tape that fails later). Some water-based, low-odor duct sealants are designed specifically for seams and joints and hold up through weather and temperature changes. AFM Safecoat
Step 5: Roof + exterior protection (stop water before it becomes “a situation”)
Your roof is your home’s armor. Tiny cracks and weak points can become leaks fast once freeze/thaw cycles start doing their thing.
If you’re using a roof coating, choose one that’s designed to resist water and mildew and bridge small cracks. Some water-based options are made for properly primed roofs (metal, tile, concrete, and certain synthetic materials) and can be used to patch and seal hairline cracks.
Step 6: Don’t “seal the house shut” without thinking about ventilation
This is important: weatherizing helps save energy, but tightening a home without maintaining ventilation can trap indoor pollutants. Ventilation is part of a healthy home because it helps reduce indoor contaminants.
Simple ways to keep air fresher in winter:
Use bathroom/kitchen exhaust fans properly
Run a true HEPA air purifier in bedrooms (especially if anyone is sensitive)
Don’t ignore combustion safety (fireplaces/gas appliances) get them checked as needed
The bottom line
Weatherproofing is one of the easiest ways to make your home feel better in winter warmer rooms, fewer drafts, less moisture, and often lower heating costs. ENERGY STAR notes that air sealing and insulating key areas can improve comfort and efficiency, with meaningful average savings when done strategically.
If you want to start simple, start here:
Weatherstrip doors
Caulk window gaps
Seal duct leaks
Control moisture at the foundation/crawlspace
Keep ventilation in mind
That’s the Detox Dwellings way: comfort + health, not one or the other.
Want a personalized winterizing plan?
If you want a quick, customized checklist based on your climate, your home type, and any sensitivities in the household, book a Detox Dwellings consult or join the community for my product swap lists and room-by-room checklists.
*Educational content only. Not medical advice.
Disclosure: Some links in this post may be affiliate links, which means I may earn a small commission at no extra cost to you. I only recommend products I’d feel good about putting in my own home.
